January 1, 2000

Unity - 3D探索游戏概念设计

使用Unity和C#实现的简单3D探索游戏 Kiki&Wawa。

Brief: Kiki and Wawa are travelers in the world. They explore the world and meet different friends. This is a simple scenario in the game. Players need to control Kiki to find friends: Dogknight, in order to learn new skills. Players can move freely in the world and can also interact with different objects.

📹 - Youtube(game video): https://youtu.be/ZHsukXkWIjc

📦 - DropBox(Unity files): https://www.dropbox.com/sh/fzsqfk2k35a9hak/AACmnJnJKNzBXVWHPlOGZcfAa?dl=0

🛠 - Github(game file): https://github.com/ShuSQ/CCI_AVCE_FP_KikiAndWawa

1.Create roles and camera

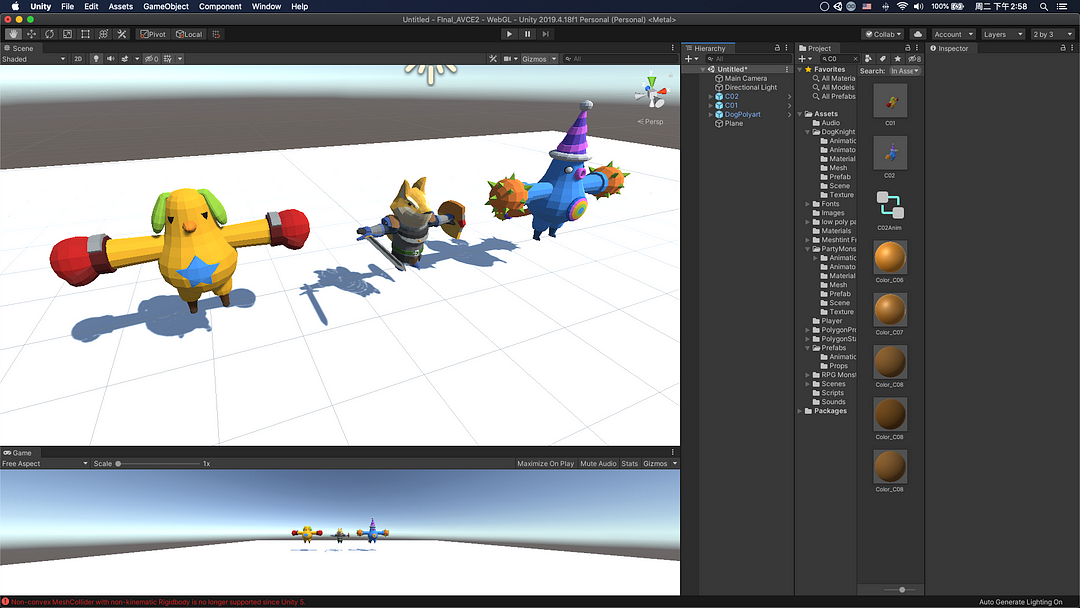
After having a rough game concept, we started looking for suitable characters, and finally we chose these free models in the assetstore, which can help us work more efficiently.

You can also find them in Unity’s assetstore: Party Monster and Dog Knight

Then, we created a camera script that allows camera move with the character,also players can adjust the angle with the mouse. CameraController.cs is detailed as follows:

1
2
3
4
5
6
7
8
9
10
11
12
13
14
15
16
17
18
19
20
21
22
23
24
25
26
27
28
29
30
31
32
33
34
35
36
37
38
39
40
41
42
43
44
45
46
47
48
49
50
51
52
53
54
55
56
57
58
59
60
61
62
63
64
65
66
67
68
69
70
71
72
73
74
75
76
77
78
79
80
81
82
using System.Collections;
using System.Collections.Generic;
using UnityEngine;

public class CameraController : MonoBehaviour
{

public Transform target;
public Vector3 offset;
public bool useOffsetValues;
public float rotateSpeed;

public Transform pivot;
public float maxViewAngle;
public float minViewAngle;

public bool invertY;

// Start is called before the first frame update
void Start()
{
if(!useOffsetValues)
{
offset = target.position - transform.position;
}

pivot.transform.position = target.transform.position;
// pivot.transform.parent = target.transform;
pivot.transform.parent = null;

Cursor.lockState = CursorLockMode.Locked;
}

// Update is called once per frame
void LateUpdate()
{


pivot.transform.position = target.transform.position;
// Get the x position of the mouse & rotate the target
float horizontal = Input.GetAxis("Mouse X") * rotateSpeed;
pivot.Rotate(0, horizontal, 0);

// Get the Y position of the mouse & rotate the pivot
float vertical = Input.GetAxis("Mouse Y") * rotateSpeed;
// pivot.Rotate(-vertical, 0, 0);
if(invertY)
{
pivot.Rotate(vertical, 0, 0);
} else{
pivot.Rotate(-vertical, 0, 0);
}

// Limit up/down camera rotation
if(pivot.rotation.eulerAngles.x > maxViewAngle && pivot.rotation.eulerAngles.x < 180f)
{
pivot.rotation = Quaternion.Euler(maxViewAngle, 0, 0);
}

if(pivot.rotation.eulerAngles.x > 180f && pivot.rotation.eulerAngles.x < 360f + minViewAngle)
{
pivot.rotation = Quaternion.Euler(minViewAngle, 0, 0);
}

// Move the camera based on the currentv rotation of the target & the original offset
float desiredYAngle = pivot.eulerAngles.y;
float desiredXAngle = pivot.eulerAngles.x;

Quaternion rotation = Quaternion.Euler(desiredXAngle, desiredYAngle, 0);
transform.position = target.position - (rotation * offset);

// transform.position = target.position - offset;

if(transform.position.y < target.position.y)
{
transform.position = new Vector3(transform.position.x, target.position.y - .5f, transform.position.z);
}

transform.LookAt(target.transform);
}
}

The effect of testing in Unity is as follows:

Next, we create the character animation, allow the player to control the movement of the character through the keyboard, and create the rigibody and collider so that the character has physical properties. You can view the complete code in PlayerController.cs:

1
2
3
4
5
6
7
8
9
10
11
12
13
14
15
16
17
18
19
20
21
22
23
24
25
26
27
28
29
30
31
32
33
34
35
36
37
38
39
if(knockBackCounter <= 0)
{
float yStore = moveDirection.y;
moveDirection = (transform.forward * Input.GetAxis("Vertical")) + (transform.right * Input.GetAxis("Horizontal"));
moveDirection = moveDirection.normalized * moveSpeed;
moveDirection.y = yStore;

if(Input.GetButtonDown("Attack"))
{
anim.SetInteger("AtkNum", UnityEngine.Random.Range(0, 2));
anim.SetTrigger("Attack");
}

if(Input.GetButtonDown("Dance"))
{
anim.SetTrigger("Dance");
}

if(Input.GetButtonDown("Defense"))
{
anim.SetTrigger("Defense");
}


if(controller.isGrounded)
{

moveDirection.y = 0f;

if(Input.GetButtonDown("Jump"))
{
moveDirection.y = jumpForce;
JumpSound.Play();
}
}
} else {
knockBackCounter -= Time.deltaTime;

}

The achieved effect is as follows:
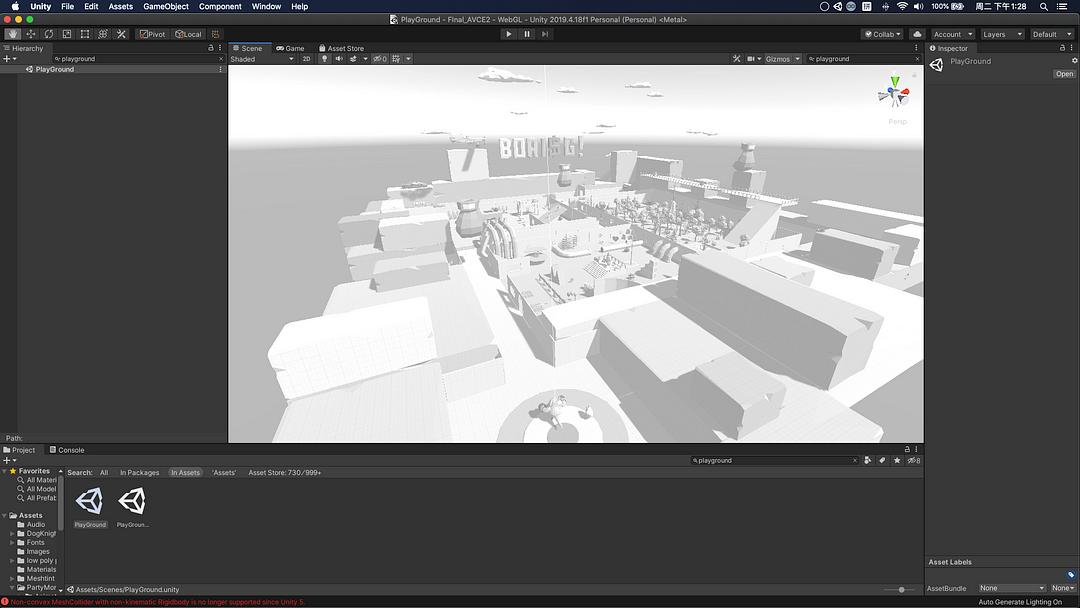
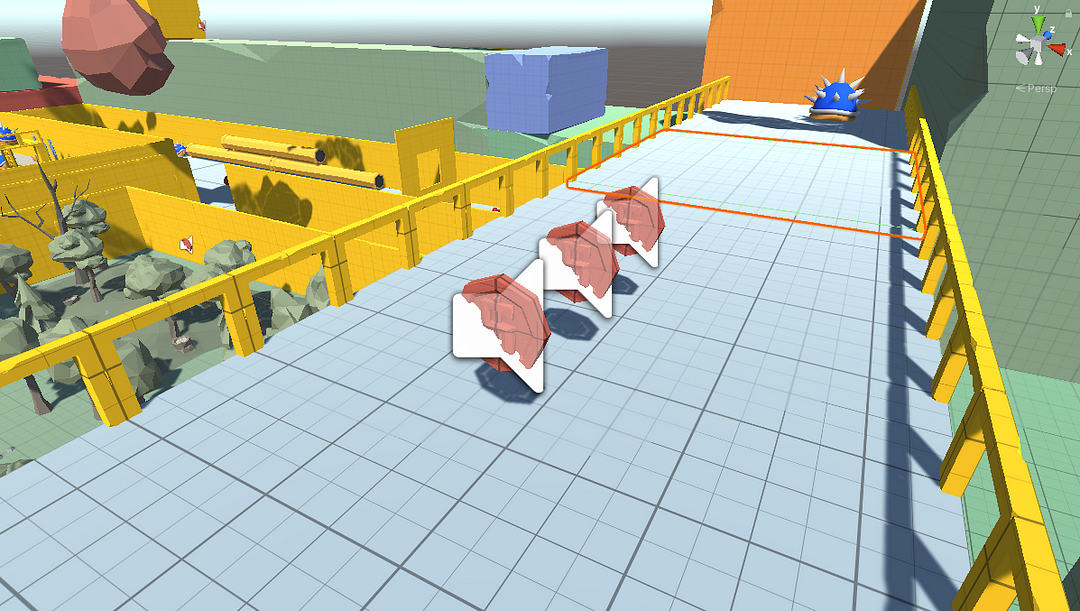
2.Edit scenes

In this part, we need to create a game space where the characters can move. This part makes me feel very difficult. How to make the space interesting and feel natural is a big challenge.

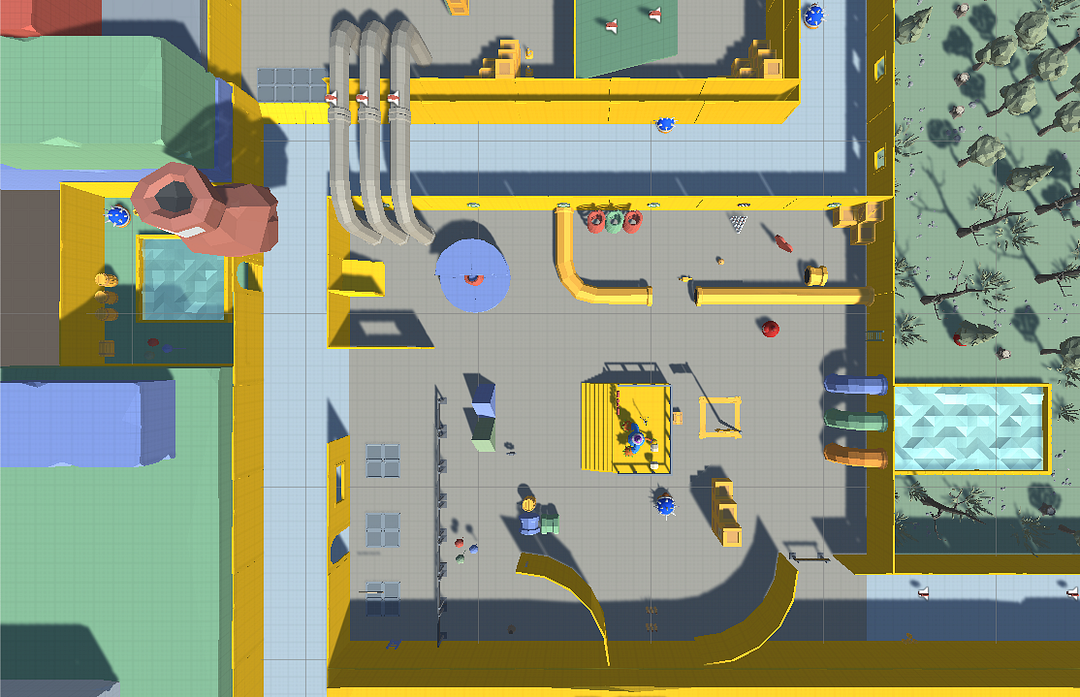
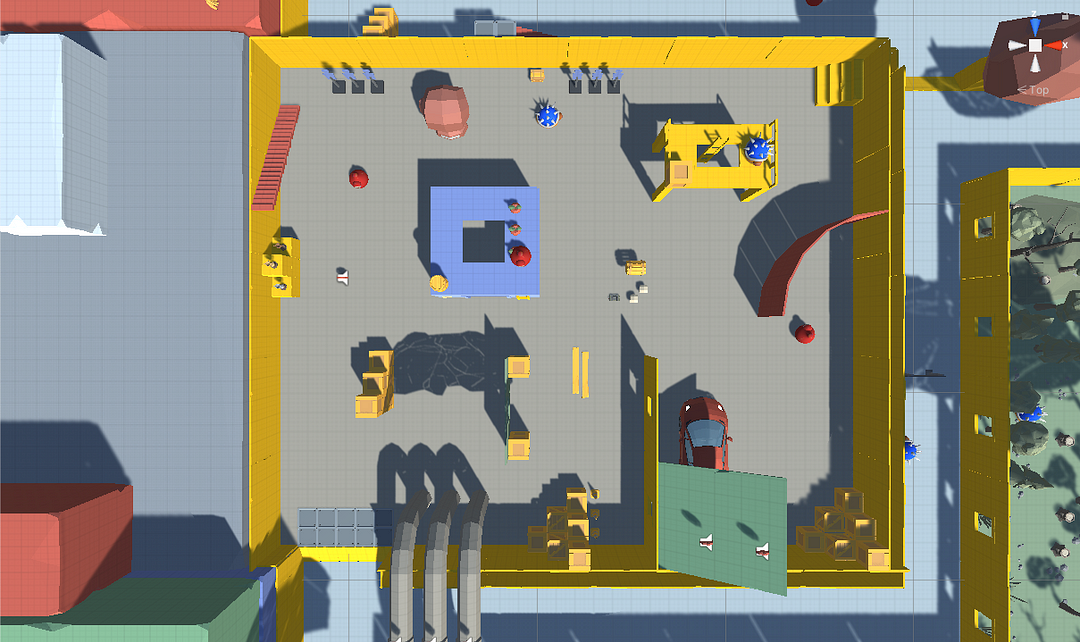
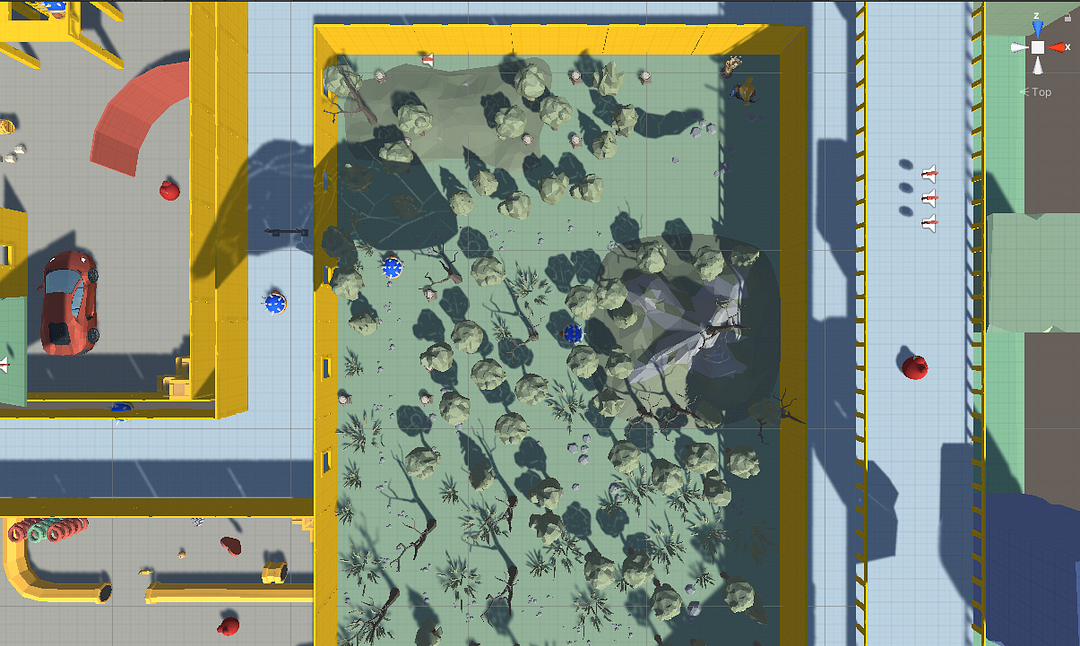
In the initial idea, we considered choosing the polygon style, because it makes people feel more interesting and relaxed. I purchased assets-POLYGON Prototype and it is great ! The other two assets are also very helpful: POLYGON Starter Pack and Free Trees.

Editing the map is really a complicated matter, and I spent a lot of time thinking about what elements need to be added.

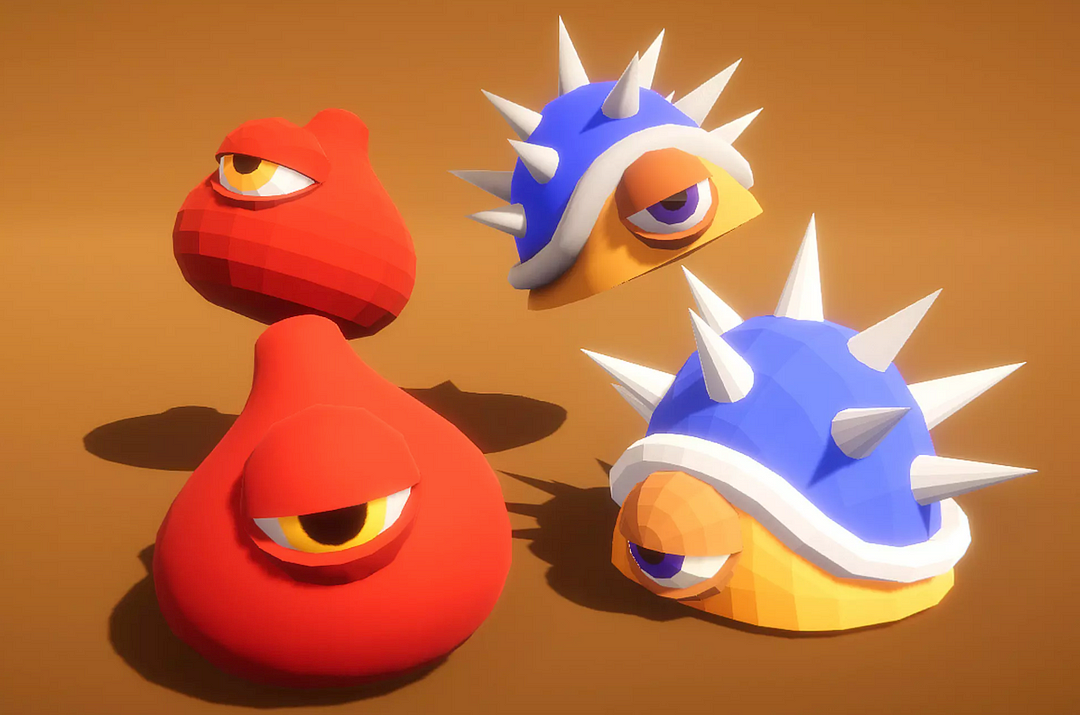
3.Extra elements and sounds

In order to enrich the content of the game, we also introduced some NPCs and gold coins, and added some simple sounds and BGM to make the environment more realistic. Our music is also free material, you can find them here:FREE Retro Game Music and FREE Music For Puzzle Games. Our NPCs come from:RPG Monster Duo PBR Polyart.

How to pickup a coin, and add a eventListener to achieve that:

1
2
3
4
5
6
7
8
9
10
11
12
13
14
15
16
17
18
19
20
21
22
23
24
25
26
27
28
29
30
31
32
33
34
35
36
using System.Collections;
using System.Collections.Generic;
using UnityEngine;

public class GoldPickup : MonoBehaviour
{
public int value;
public AudioClip CoinPickSound;
// public GameObject pickupEffect;
// Start is called before the first frame update
void Start()
{

}

// Update is called once per frame
void Update()
{

}

private void OnTriggerEnter(Collider other)
{
if(other.tag == "Player")
{
FindObjectOfType<GameManager>().AddGold(value);
// CoinPickSound.Play();
AudioSource.PlayClipAtPoint(CoinPickSound, transform.position);

// Instantiate(pickupEffect, transform.position, transform.rotation);

// Destroy(gameObject);
gameObject.SetActive(false);
}
}
}

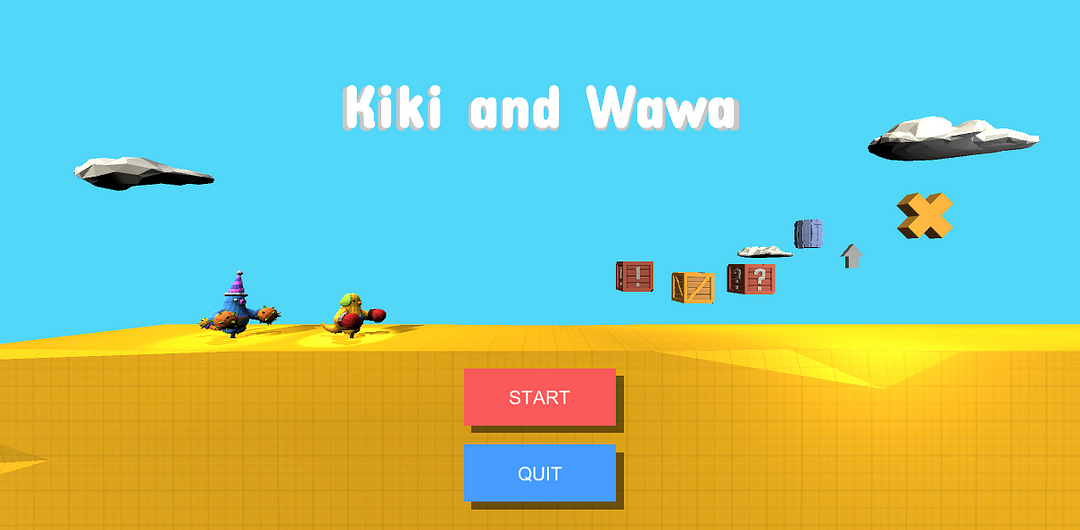
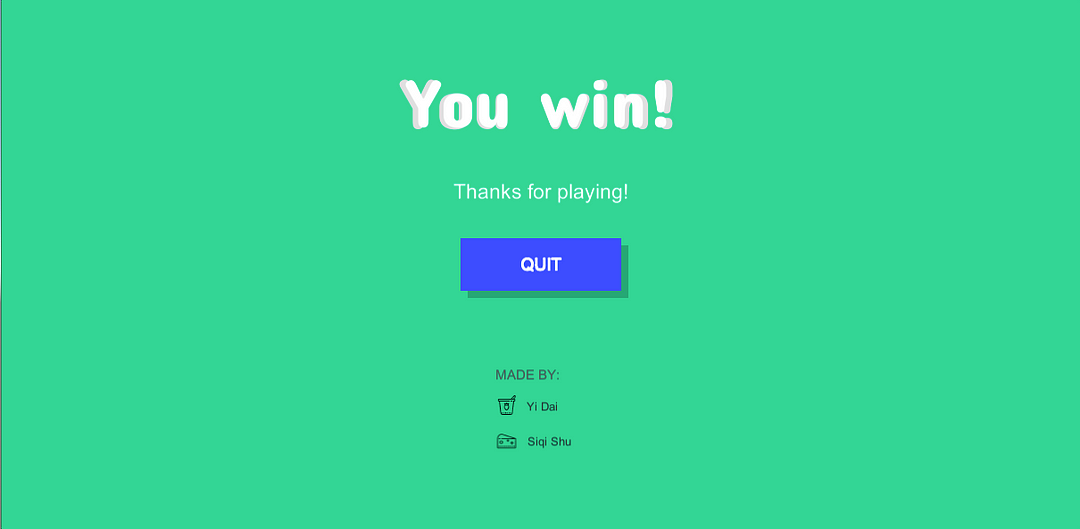
4.Add StartScene and QuitScene

After the main game scene is completed, we also need to improve the game’s menu page and end page. At this point, our simple game is almost complete, and I want to share some simple game content.

5.Preview

Share some game content with you, of course, you can also download the Mac version to try it out! But there are still many bugs in the game, sorry.

Reference:

1.Lonely Mountains: Downhill-https://store.steampowered.com/app/711540/Lonely_Mountains_Downhill/

2.For The King-https://store.steampowered.com/app/527230/__For_The_King/

3.Morphite-https://store.steampowered.com/app/661740/Morphite/

4.Hide and Seek-https://store.steampowered.com/app/1010860/Hide_and_Seek/

5.40 Stunning Low Poly Art Images You Need To See-https://sundaysundae.co/stunning-low-poly-art-images-you-need-to-see/

6.A Beginner’s Guide to Designing Video Game Levels-https://gamedevelopment.tutsplus.com/tutorials/a-beginners-guide-to-designing-video-game-levels--cms-25662

About this Post

This post is written by Siqi Shu, licensed under CC BY-NC 4.0.